


Teeth In
Teeth Out


What is this crazy teething thing all about!
First we watch
as they are all gums
Poor little baby doesn’t want that horrible teething fun.
The pain
The crying
The tired screams made it seem like they were dying.
Then that first little tooth popped through
So shiny & white.
Ouch! Now she knows how to bite!
Two by two
or four by four
sometimes one at a time and no more.
Suddenly, the mouth is full
and just when it seems there’s nothing more to do
a new tooth wants to join the crew.
This time the screams are filled with giggles
because the new tooth coming in
makes the old ones wiggle!
Giggly, wiggly teeth oh my
how the time does fly by.
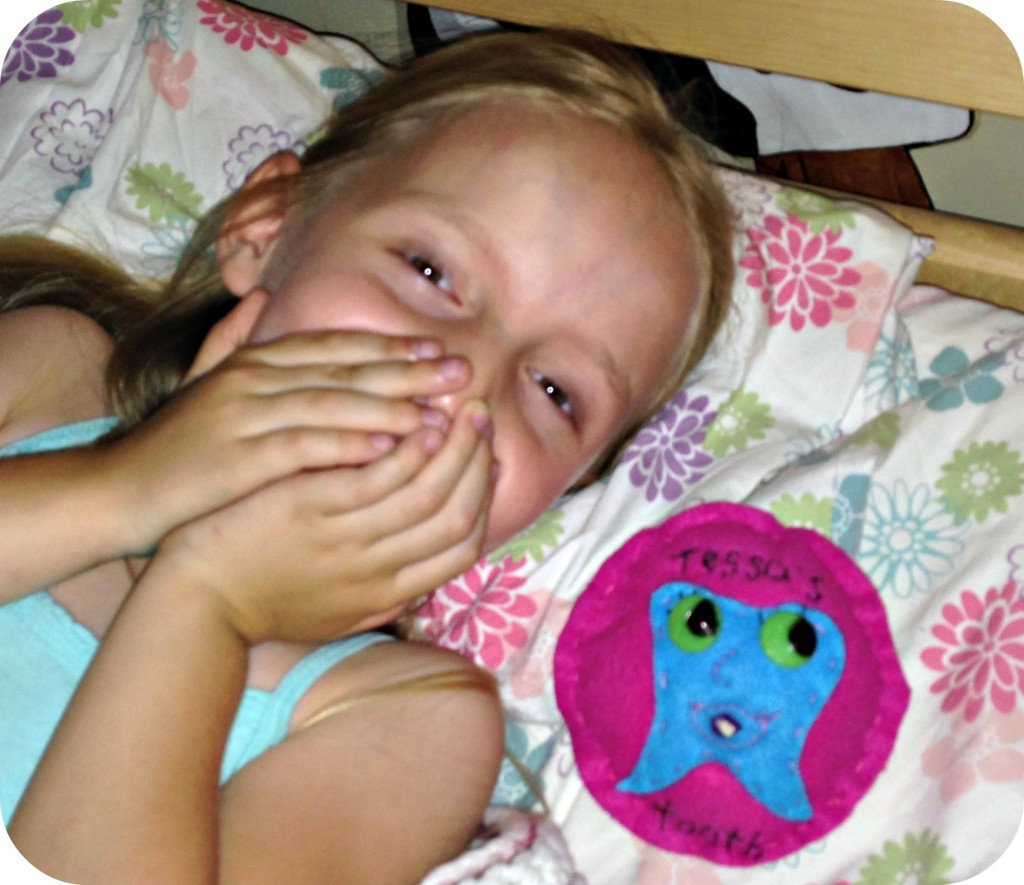
Besides the obvious too much Dr. Seuss in my literary diet, it is quite clear that we had our first loose tooth this past month – yay!!! At the same time, Tessa, my oldest daughter, was loosing her first tooth, my youngest child was getting his first tooth. It just so happened to be the very same tooth that was both coming and going! Needless to say, we’ve had a lot of fun rejoicing about “The Firsts” in our house.
I’m not sure which Tessa was more excited about: losing the tooth or getting to put it under her pillow for the tooth fairy! Where do kids even hear about the tooth fairy? I have never once mentioned it and had planned on letting her put it under her pillow knowing full well that when she awoke, she would have been gifted a present from her good ole’ mom and dad. Now, don’t think I’m a kill joy but yes, I did tell her that the tooth fairy was a fun, pretend character. For all of you gasping right now, not to worry, she didn’t believe me and was adamant that indeed there was a tooth fairy.
Anyway, before the big night came, we decided to make a pillow that would keep her tooth safe once the treasured possession was out of her mouth. She and I brainstormed about what the pillow should look like and I sketched it out. Our main requirement was that we wanted to be able to put Tessa’s real tooth inside the mouth of the pillow tooth.
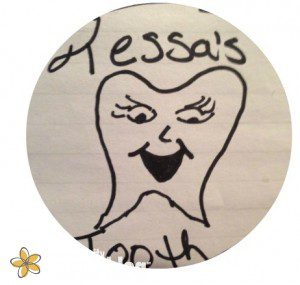
I know! I’m a fabulous artist, right? You should see my sewing skills…oh wait, you are about to enjoy them! (Let me make make this public service announcement, I do not know how to sew. I am totally just flying by the seat of my pants on this one. I couldn’t even find a needle in my house to use, so I had to borrow one from my husband’s grandma. I am creative but truly don’t know what I am doing when it comes to sewing. We are remedying this situation with sewing lessons for Tessa and I next month at the Stitching Post’s Sew Camp. You should join us!)
I am sharing this pillow idea with you because my daughter loved it and if your child would like a pillow like it, I have a strong belief in you to be able to make it too and greatly improve upon it!
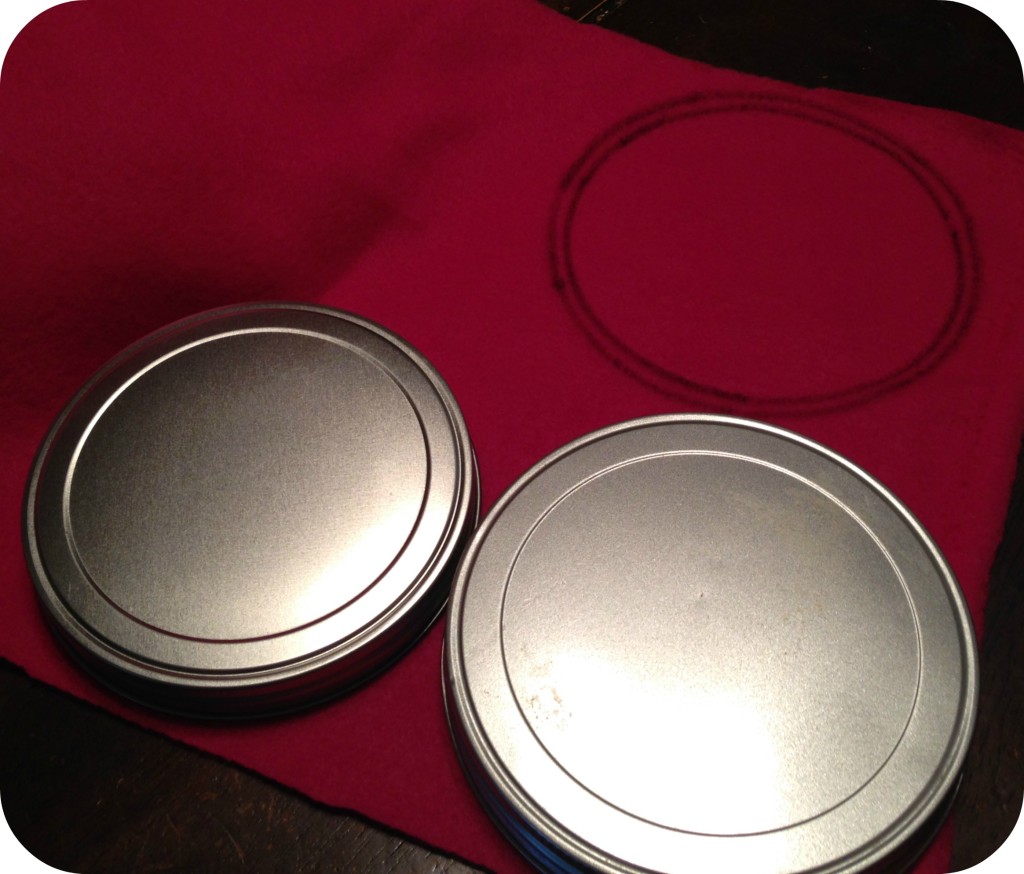
Once Tessa picked the fabric colors, I used a lid from a kitchen container to create two circles for the front and back of the pillow.
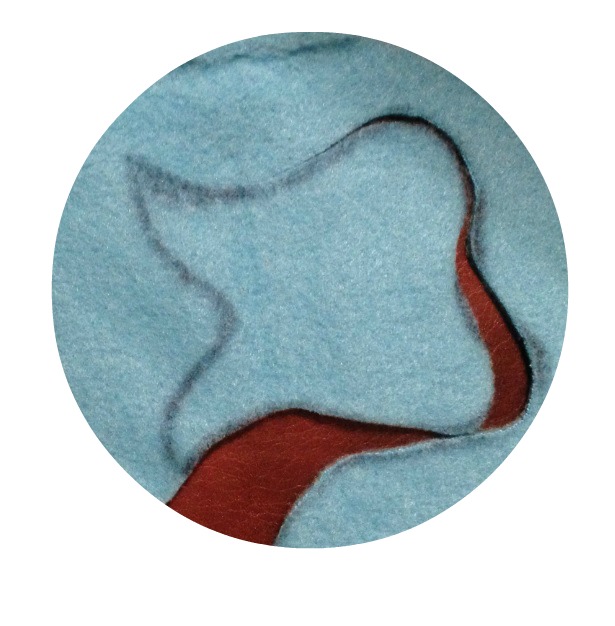
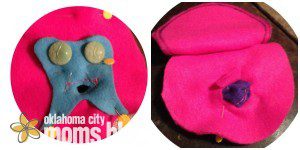
Using the tooth from the sketch, I laid it on top of the fabric and used a magic marker to trace around it and then, cut it out.
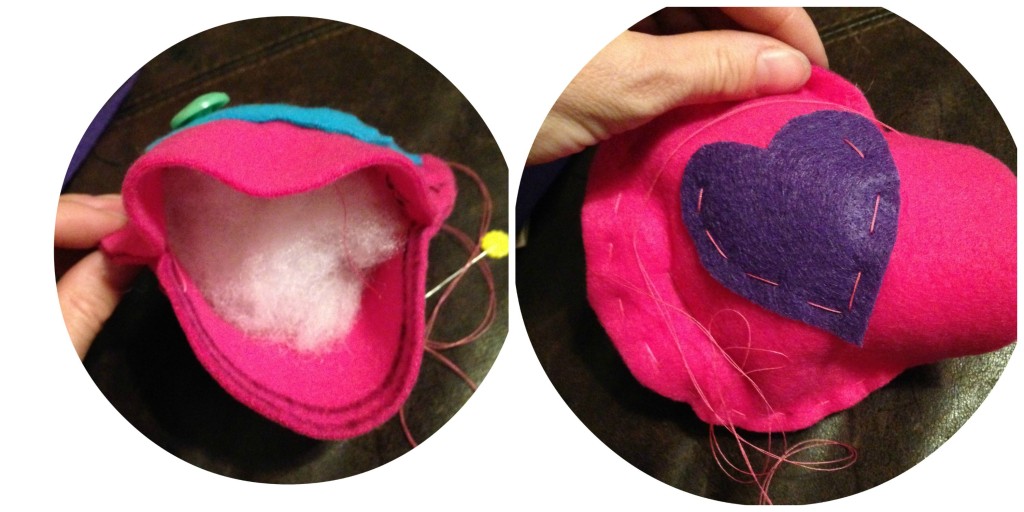
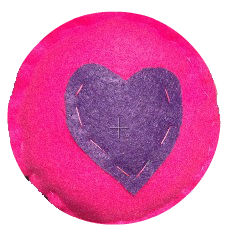
Tessa decided she wanted a purple heart, so I cut out a square piece that would be proportionate to the tooth. Then, I shaped it into a heart and sewed along the sides, leaving the top part open so that money could be put inside the heart. I decided the tooth could always go in there as well, if I couldn’t figure out how to make Tessa’s real tooth stay inside the tooth pillow’s mouth.

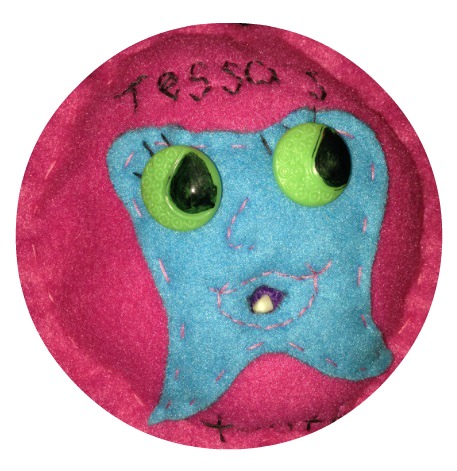
Once I had the tooth cut out, I sewed on the button eyes.
Then, I attached the blue tooth to one of the pink circles with pins and cut a small hole through the tooth and the pink circle fabric where I thought the mouth should go.
The most difficult part for me was figuring out how to create a pocket so that the tooth could go inside the mouth. I did this by taking a small piece of fabric, pinning it in such a way as to create a small pouch, and then sewed all around it. I had to try this several times, as I inevitably ended up flattening the fabric, which kept the pouch from forming. I finally figured it out. For me, the trick was pinching the fabric where I wanted the pouch to be so I couldn’t sew it down.
Adding some personal touches, I stitched “Tessa’s Tooth” on the front. Afterwards, I added a little stuffing and sewed all around the circles’ edges.
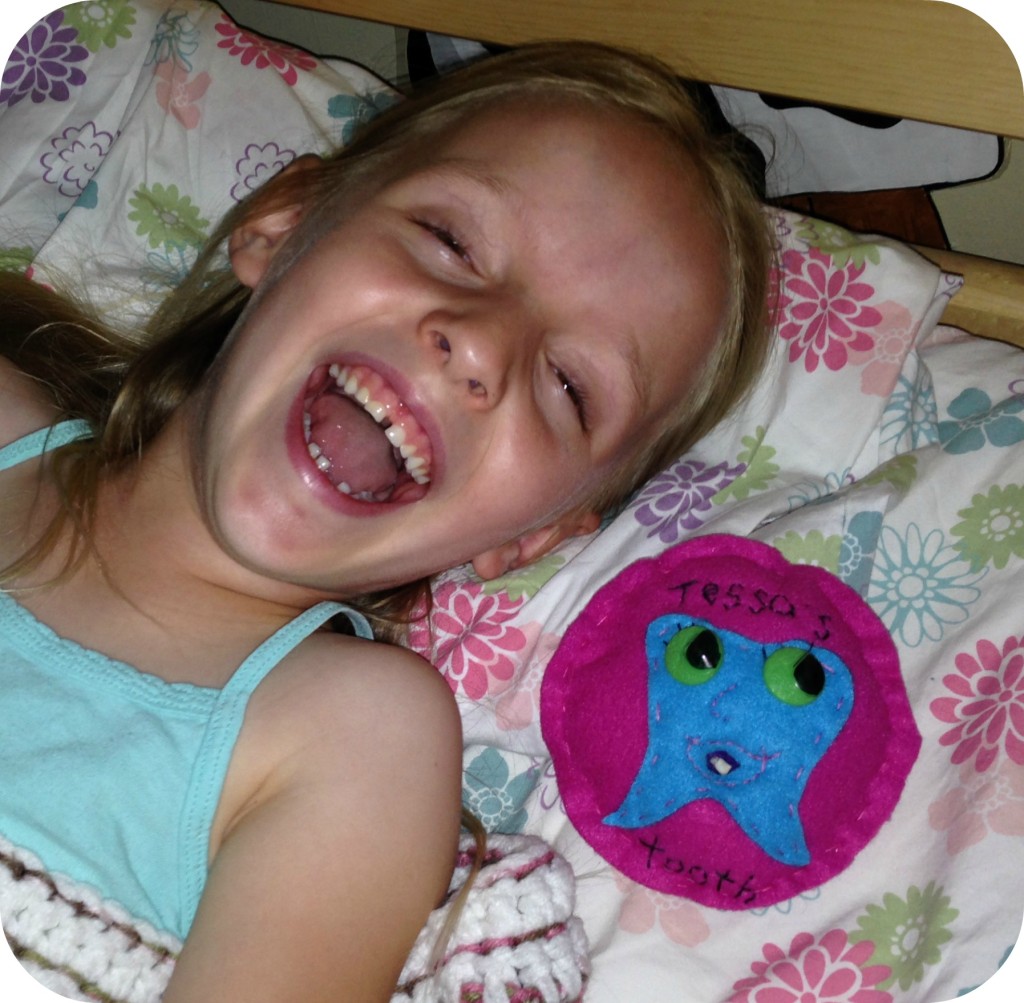
 Once you’ve made your pillow, all you need is a fallen tooth!
I hope you have as much fun as we had making this pillow and anticipating it’s first night of use!


